Stories

Why Tūī Artworks Belong in Every New Zealand Ho...
Why tūī show up so often in my art—and why they might deserve a place in your home too.
Why Tūī Artworks Belong in Every New Zealand Ho...
Why tūī show up so often in my art—and why they might deserve a place in your home too.
Need gift suggestions for your father-figure?
There are all sorts of father figures, and many are huge bird fans. Read on for bird art suggestions that are perfect for your Dad.
Need gift suggestions for your father-figure?
There are all sorts of father figures, and many are huge bird fans. Read on for bird art suggestions that are perfect for your Dad.
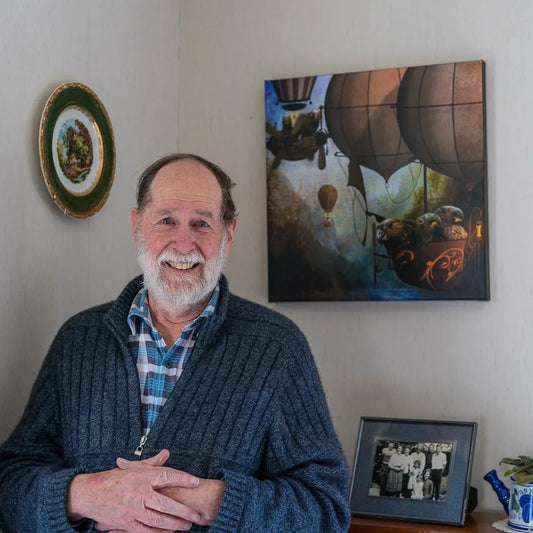
My top hints for framing your prints
My top hints for framing your fine art prints
My top hints for framing your prints
My top hints for framing your fine art prints
7 Easy Tips for Compelling Photos that Everyone...
Discover seven simple, no-cost tips to instantly improve your photography skills using just your phone—no technical skills or fancy gear needed!
7 Easy Tips for Compelling Photos that Everyone...
Discover seven simple, no-cost tips to instantly improve your photography skills using just your phone—no technical skills or fancy gear needed!
All about fine-art metal prints
All your questions about fine-art metal prints answered!
All about fine-art metal prints
All your questions about fine-art metal prints answered!
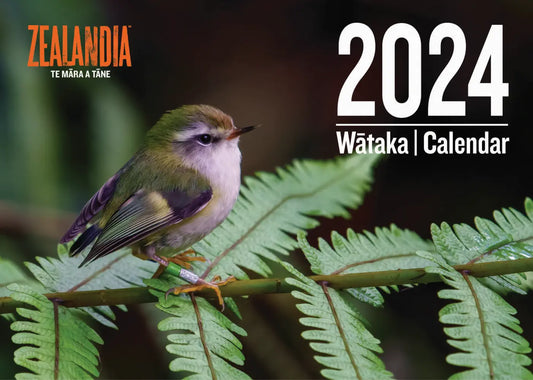
Our annual labour of love for 2024
My favourite project for Zealandia EcoSanctuary is creating the annual fund-raising calendar. And it takes around 18 months to create if you account for the effort required to obtain a...
Our annual labour of love for 2024
My favourite project for Zealandia EcoSanctuary is creating the annual fund-raising calendar. And it takes around 18 months to create if you account for the effort required to obtain a...